The journey to true online anonymity is not a destination but a continuous process, a vigilant dance with an ever-evolving digital landscape. We’ve unmasked the silent threat of IPv6 leaks, explored their devastating impact, and understood why they often bypass even the most trusted VPNs. Now, it’s time to move beyond understanding and into action. This final section is your practical roadmap, a step-by-step guide to fortifying your digital defenses and ensuring that your VPN truly delivers on its promise of privacy. This isn't about complex hacks or arcane coding; it's about empowering you with actionable insights and clear instructions to reclaim control over your online identity. The time for complacency is over; the time to act is now, to ensure that the one VPN setting you must change, or rather, the one critical configuration you must address, is firmly under your command.
Taking Back Control: Your Action Plan for Unbreakable Anonymity
The very first step in securing your anonymity is to verify your current setup. You cannot fix what you don’t know is broken. Before making any changes, it’s crucial to establish a baseline. Disconnect your VPN and visit a reputable IP leak testing website such as ipleak.net or dnsleaktest.com. Note down your displayed IPv4 address. If you see an IPv6 address listed, make a note of that too. This is your true, exposed identity when not using a VPN. Now, connect to your VPN and re-run the same tests. Observe the results carefully. Ideally, your IPv4 address should now be that of the VPN server, and there should be no IPv6 address detected. If an IPv6 address is still present, and it matches the one you noted down earlier (or is otherwise clearly associated with your ISP), then you have an IPv6 leak. This diagnostic step is absolutely non-negotiable; it provides the empirical evidence you need to confirm whether you are vulnerable and guides your subsequent actions. Without this initial check, any steps you take are merely shots in the dark, and true security remains an elusive dream.
Once you’ve identified a potential leak, or simply as a proactive measure, the most effective way to prevent IPv6 leaks is to disable IPv6 at your operating system level. This ensures that your device simply won't attempt to make any IPv6 connections, thereby eliminating the possibility of a bypass. This is often the most robust solution, as it operates at a fundamental level, independent of your VPN client's specific implementation. While the detailed steps were provided in the previous section, let’s reiterate the general process for the most common operating systems to ensure clarity and ease of execution. For Windows users, the path is typically through the Network and Sharing Center, then Adapter Settings, where you uncheck the IPv6 box in your active adapter's properties. Mac users will navigate to System Settings (or Preferences), then Network, select their adapter, click "Details" (or "Advanced"), and configure IPv6 to "Link-local only" or "Off" in the TCP/IP tab. Linux users will typically edit the `/etc/sysctl.conf` file to add `net.ipv6.conf.all.disable_ipv6 = 1` and similar lines, followed by applying the changes with `sudo sysctl -p`. Remember to restart your computer or apply network changes to ensure they take full effect. This action effectively cuts off the source of the leak, regardless of your VPN's capabilities.
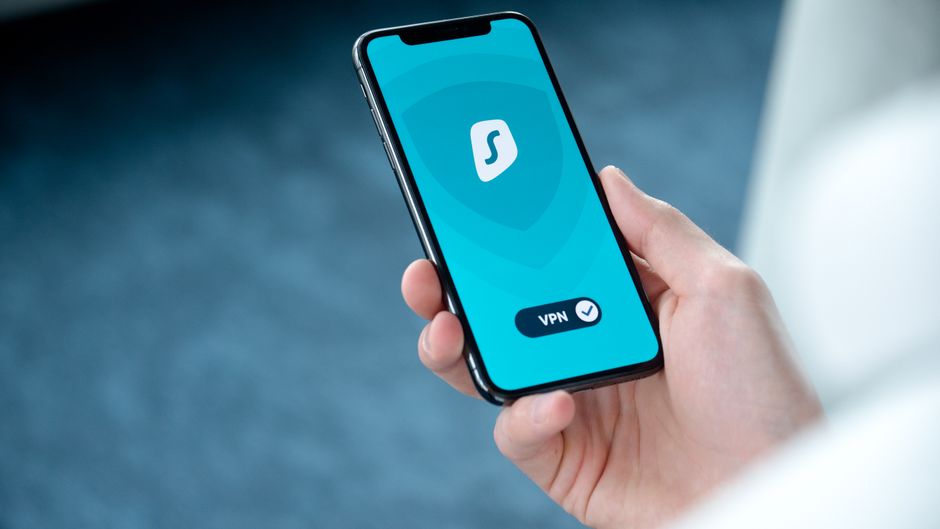
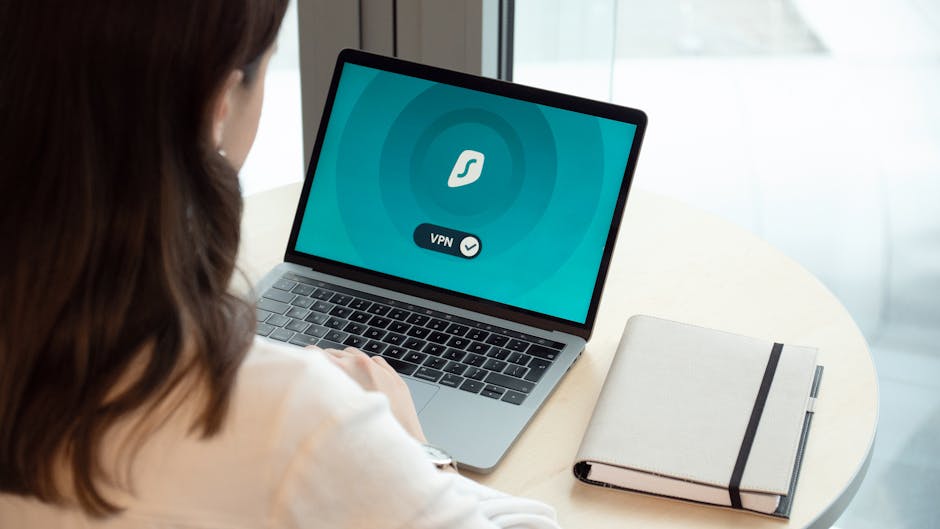
After addressing IPv6 at the operating system level, or if you prefer to rely on your VPN’s built-in features, the next crucial step is to meticulously configure your VPN for maximum IPv6 security. Open your VPN client and delve into its settings. Look for any options specifically related to IPv6. Many reputable VPNs now include a toggle for "IPv6 Leak Protection" or "Block IPv6." Ensure this feature is enabled. If your VPN offers different protocols (e.g., WireGuard, OpenVPN), check their documentation to see which one has the most robust IPv6 handling. Sometimes, switching to a specific protocol might offer better protection. Additionally, verify that your VPN’s DNS leak protection is active. While primarily focused on IPv4 DNS, a comprehensive DNS leak protection should also account for and block any potential IPv6 DNS queries. If your VPN allows custom DNS servers, consider using privacy-focused, encrypted DNS resolvers like Cloudflare's 1.1.1.1 (which supports DNS over HTTPS/TLS) or Quad9. These services are known for their strong privacy policies and robust handling of both IPv4 and IPv6 DNS requests, adding another layer of defense against leaks.
The Lifelong Commitment to Digital Vigilance
Achieving unbreakable anonymity isn't a "set it and forget it" task; it requires regular audits and ongoing monitoring. The digital landscape is constantly shifting, with operating system updates, VPN client updates, and changes in network infrastructure potentially introducing new vulnerabilities or altering existing configurations. Therefore, it is imperative to periodically re-run IPv6 leak tests, especially after any major software updates or changes to your network setup. Make it a habit to check your IP and DNS for leaks once a month, or whenever you feel uncertain about your privacy posture. This proactive vigilance ensures that your defenses remain robust against evolving threats. Think of it as regularly checking the locks on your house; even if they were secure yesterday, a quick check today provides peace of mind and identifies any new weaknesses. This consistent verification is what separates true digital security from a false sense of security.
While addressing IPv6 leaks is a monumental step towards true anonymity, it's important to remember that it's just one piece of a larger, intricate puzzle. True online privacy and security encompass a holistic approach. This includes choosing a VPN provider with a verifiable no-logs policy, ensuring you use strong encryption protocols, and maintaining good digital hygiene. Always use unique, strong passwords, enable two-factor authentication wherever possible, and be wary of phishing attempts. Consider using privacy-focused browsers like Brave or Firefox with enhanced tracking protection, and privacy extensions to block ads and trackers. For highly sensitive activities, combining your VPN with the Tor network can offer an even greater layer of anonymity, though it comes with a significant trade-off in speed. The goal is to build a multi-layered defense, where each component reinforces the others, creating a resilient barrier against surveillance and data exploitation. IPv6 leak protection is foundational, but it is not the sole determinant of your overall digital safety.
Ultimately, the power to protect your online identity rests firmly in your hands. By understanding the critical vulnerability posed by IPv6 leaks, taking the necessary steps to disable or manage them, and maintaining a proactive stance on your digital security, you transition from being a passive user to an empowered advocate for your own privacy. This isn't about fear-mongering; it's about informed action. The internet is a powerful tool, but like any tool, it demands respect and understanding to be wielded safely. So, take a moment, open your settings, run those tests, and ensure that your digital shield is truly impervious. Your anonymity depends on it, and the peace of mind that comes with knowing your true identity remains hidden is an invaluable asset in our increasingly transparent digital age. Don't let the invisible threat of an IPv6 leak compromise your freedom; take back control, right now.