Fortifying Your Digital Defenses Mastering Private DNS and Network Privacy
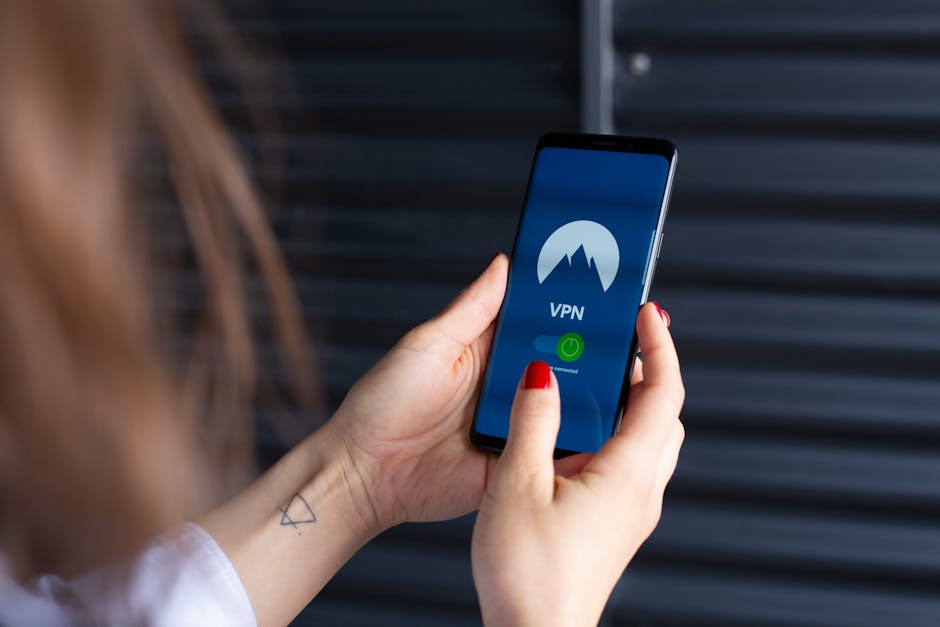
In our increasingly interconnected world, every tap, every search, every website visit leaves a digital breadcrumb trail. While we often focus on app permissions and privacy policies, one of the most fundamental layers of online privacy and security often goes unnoticed: your Domain Name System (DNS) queries. DNS acts as the internet’s phonebook, translating human-readable website addresses (like example.com) into machine-readable IP addresses. By default, your phone typically uses the DNS server provided by your Wi-Fi network or cellular carrier, which can be slow, insecure, and potentially log your online activities. This is where the hidden power of Private DNS comes into play, offering a robust shield against various forms of tracking and even certain types of malware, elevating your network privacy to a level most users don't even realize is possible.
Configuring a Private DNS server on your phone is a significant step towards reclaiming control over your online data. Instead of relying on potentially compromised or tracking-heavy default servers, you can route all your DNS requests through a reputable, privacy-focused provider like Cloudflare’s 1.1.1.1, Google’s 8.8.8.8, or Quad9’s 9.9.9.9. These services often prioritize speed, security (by blocking malicious domains), and, crucially, user privacy by promising not to log your DNS queries. For anyone concerned about their digital footprint and the insidious ways data is collected, understanding and implementing Private DNS is not just an advanced tweak; it's a foundational element of modern cybersecurity hygiene, offering a layer of protection that operates silently in the background, constantly safeguarding your browsing habits from prying eyes.
Implementing Private DNS for Enhanced Privacy and Security
On Android, enabling Private DNS is remarkably straightforward, though its exact location can vary slightly depending on your phone's manufacturer and Android version. Generally, you’ll find it under "Settings" > "Network & internet" > "Private DNS." Here, you usually have three options: Off, Automatic, or Private DNS provider hostname. To take control, select "Private DNS provider hostname" and then enter the hostname of your chosen DNS provider. For instance, for Cloudflare, you’d type `1dot1dot1dot1.cloudflare-dns.com`. For Quad9, it would be `dns.quad9.net`. Once saved, all your DNS queries will be encrypted and routed through this chosen server, preventing your ISP or any intermediate network from easily monitoring the websites you visit. This simple change dramatically enhances your privacy, making it harder for third parties to build a profile of your online activities based on your domain resolutions.
The benefits extend beyond just privacy. Many reputable Private DNS providers also offer built-in security features. For example, Quad9 focuses heavily on blocking malicious domains, acting as a first line of defense against phishing attacks, malware, and other cyber threats by preventing your device from even connecting to known bad websites. Cloudflare’s 1.1.1.1 also boasts impressive speeds, often resulting in faster website loading times compared to default ISP DNS servers. So, by making this single configuration change, you’re not only fortifying your privacy but also potentially boosting your browsing speed and adding a robust layer of security against common online threats. It’s a triple win that underscores the power of these hidden network settings, transforming a passive network connection into an actively protected one.
While iOS doesn't have a direct "Private DNS" toggle in the same way Android does, iPhone users are not left out in the cold. You can achieve similar results by installing a reputable third-party app that provides a DNS over HTTPS (DoH) or DNS over TLS (DoT) profile. Apps like Cloudflare’s 1.1.1.1 app or NextDNS provide easy ways to install a configuration profile that routes your DNS traffic securely. Alternatively, if you're comfortable with a bit more technical setup, you can manually configure DNS settings for individual Wi-Fi networks under "Settings" > "Wi-Fi" > (tap the 'i' icon next to your network) > "Configure DNS." However, a system-wide profile through an app is often more convenient for consistent protection across all networks. Regardless of your platform, taking control of your DNS is a crucial, yet often overlooked, step in securing your digital life.
Randomizing MAC Addresses for Enhanced Location Privacy
Another powerful, albeit often overlooked, network privacy setting involves MAC address randomization. Every network-enabled device, including your smartphone, has a unique Media Access Control (MAC) address, a hardware identifier assigned by the manufacturer. Historically, when your phone searched for Wi-Fi networks, it would broadcast this unique MAC address, making it possible for observers (like retail stores, public Wi-Fi providers, or even malicious actors) to track your movements and presence across different locations. This could be used to build detailed profiles of your habits, even when you weren't actively connected to a network. Fortunately, both Android and iOS have introduced features to combat this pervasive form of tracking.
On modern versions of Android (typically Android 10 and later), you can find this setting for individual Wi-Fi networks. Go to "Settings" > "Network & internet" > "Internet" (or "Wi-Fi") > tap the gear icon next to your connected Wi-Fi network > "Privacy" > and select "Use randomized MAC" (or "Use private MAC"). This ensures that your phone uses a different, randomized MAC address each time it connects to a new Wi-Fi network, or even periodically for existing networks, making it significantly harder for passive observers to track your device across time and space. It's a subtle but profoundly effective privacy enhancement that works silently in the background, offering a shield against location-based tracking that many are not even aware exists, much less how to activate it.
Similarly, iOS introduced "Private Wi-Fi Address" (or "Private Address") starting with iOS 14. This feature is enabled by default for all Wi-Fi networks you join. You can verify or manage it by going to "Settings" > "Wi-Fi" > tap the 'i' icon next to a network name. Here, you’ll see a toggle for "Private Wi-Fi Address." When enabled, your iPhone uses a unique, random MAC address for each Wi-Fi network, preventing network operators and other observers from linking your device to your activities across different locations. This is a critical privacy feature, especially in environments like shopping malls, airports, or public spaces where Wi-Fi tracking can be used to monitor foot traffic, dwell times, and even infer personal interests. By ensuring this setting is active, you significantly reduce your digital footprint and enhance your anonymity in the physical world.