The moment of truth has arrived. All the research, the hardware selection, the firmware considerations, and the preparatory steps now culminate in the actual configuration of your router to operate as a VPN client. This is where your home network truly transforms, evolving from a collection of individually protected or unprotected devices into a unified, secure digital domain. While the precise steps will vary slightly depending on your specific router model and the firmware it’s running, the fundamental principles remain consistent. We'll walk through a generalized, yet comprehensive, blueprint that covers the essential actions required to establish that coveted network-wide VPN connection, ensuring every byte of data entering and leaving your home is shrouded in encryption and anonymity.
Begin by accessing your router's administrative interface. This is typically done by opening a web browser and typing your router's IP address (e.g., 192.168.1.1 or 192.168.0.1) into the address bar. You'll then be prompted for your administrator username and password – the strong, unique credentials you ideally set during the preparation phase. Once logged in, navigate through the various menus to locate the VPN client settings. The exact path can differ significantly: on Asus routers with AsusWRT, you might find it under "VPN" and then "VPN Client." On DD-WRT, it's often under "Services" then "VPN." OpenWRT users will typically use the LuCI web interface, navigating to "VPN" or "Services" and looking for OpenVPN or WireGuard client configurations. Take your time to explore the interface; familiarity with your router's layout will prove invaluable.
Your Blueprint for Universal Protection A Step-by-Step Journey to Network Privacy
Once you've located the VPN client section, the next crucial step is to import or manually configure your VPN provider's settings. For OpenVPN, most modern firmwares will offer an option to "Import .OVPN file." This is by far the easiest method, as the `.ovpn` file contains all the necessary server addresses, port numbers, cryptographic keys, and certificates. Simply upload the file you downloaded from your VPN provider, and the router should populate most of the fields automatically. You will typically still need to manually enter your VPN username and password, which are usually provided separately by your VPN service. For WireGuard, the process might involve generating a key pair on your router (if the firmware supports it) and then pasting the configuration details (public key of the server, endpoint, allowed IPs) provided by your VPN service into the respective fields. Some providers also offer a complete WireGuard configuration file you can import. Double-check every entry, especially server addresses and port numbers, as a single typo can prevent the connection from establishing.
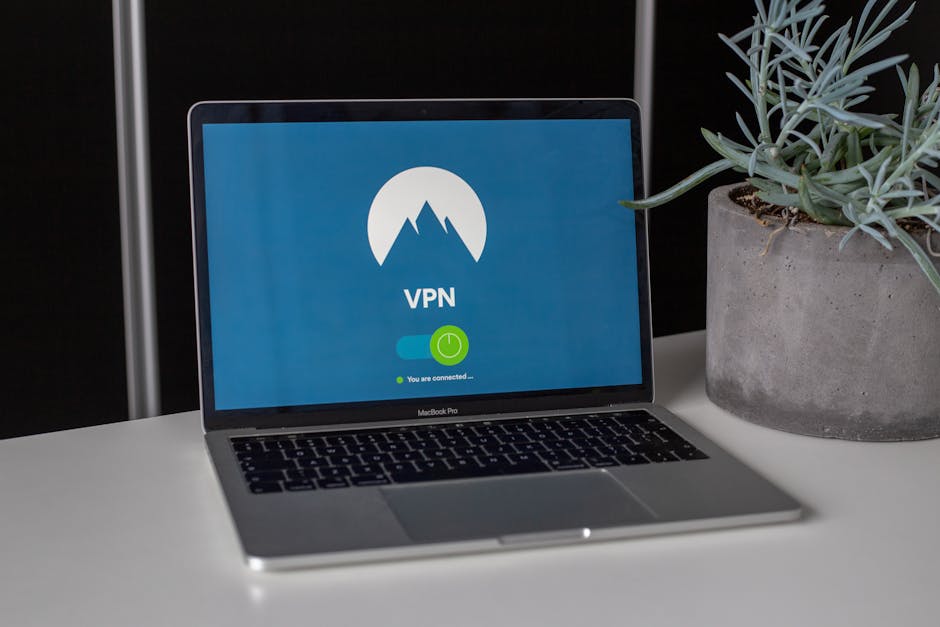
After importing or manually entering the configuration, you'll need to enable the VPN client. This is usually a simple toggle or a "Connect" button within the VPN client settings. Once enabled, your router will attempt to establish a connection to your VPN provider's server. Keep an eye on the connection status, which should ideally show "Connected" or "Running." If it fails, check the system logs within your router's interface; these logs often provide valuable clues about what went wrong, such as incorrect credentials, firewall issues, or problems with the configuration file. Patience and systematic troubleshooting are key here. It's not uncommon for the first attempt to require some minor adjustments, especially if you're dealing with custom firmware or a less common VPN provider. Don't be discouraged; the solution is often just a small tweak away.
With the VPN client showing a "Connected" status, the critical next step is to verify that your entire network's traffic is indeed passing through the VPN tunnel and that there are no leaks. This is paramount for ensuring your privacy. Disconnect any existing VPN clients on your individual devices (laptops, phones) and connect them to your now VPN-enabled Wi-Fi network. Then, visit a reputable IP leak test website (e.g., ipleak.net, dnsleaktest.com) from any device connected to your router. These sites will display your detected IP address and DNS servers. If the IP address shown matches the location of your chosen VPN server, and the DNS servers also belong to your VPN provider (or are generic, non-ISP DNS servers routed through the VPN), then your setup is successful. If your real IP address or your ISP's DNS servers appear, you have a leak, and further troubleshooting is required. Common causes of leaks include misconfigured DNS settings on the router or individual devices, or an improperly configured kill switch.
Advanced Fortification Customizing Your Router VPN Experience
Once your basic router VPN is up and running, you can explore advanced settings to further enhance your security and flexibility. One of the most important advanced configurations is implementing a kill switch at the router level. While some custom firmwares offer a built-in kill switch, for others, you might need to configure firewall rules manually. The goal of a kill switch is to block all internet traffic if the VPN connection drops unexpectedly, preventing your real IP address from being exposed. This typically involves creating a firewall rule that allows outbound traffic only through the VPN tunnel interface. If the VPN tunnel goes down, that interface becomes unavailable, and the firewall rule effectively cuts off internet access, ensuring continuous protection. Consult your firmware's documentation or community forums for specific instructions on how to implement this critical feature.
Another powerful feature offered by many advanced firmwares is selective routing, often called "split tunneling" or "policy-based routing." This allows you to specify which devices or even which types of traffic should bypass the VPN tunnel and connect directly to the internet, and which should always go through the VPN. For example, you might want your smart TV to access a local streaming service directly for optimal performance, while your torrenting machine or sensitive work laptop always routes through the VPN. This offers incredible flexibility, allowing you to optimize performance for certain tasks while maintaining robust privacy for others. Configuring selective routing usually involves creating rules based on the device's IP address (which you can often assign statically in your router's DHCP settings) or destination IP addresses/ports. It's a more advanced configuration, but it truly unlocks the full potential of a router-based VPN.
"The beauty of custom firmware on a router is the granular control it affords. You’re not just activating a VPN; you’re architecting your network’s privacy and security layers with surgical precision." - Dr. David Kim, Network Security Consultant.
Finally, remember that a router VPN, like any technology, requires occasional maintenance. Periodically check your router's logs for any connection drops or errors. Ensure your router's firmware is kept up-to-date, as updates often include security patches and performance enhancements. Your VPN provider might also update their server configurations or recommend new protocols, so stay informed about their announcements. Testing your VPN connection periodically with an IP leak test is also a good habit. While the initial setup might seem like a significant undertaking, the long-term benefits of a universally protected home network far outweigh the initial effort. You'll gain unparalleled privacy, security, and freedom across all your devices, without the constant hassle of managing individual VPN clients. It's a robust, elegant, and permanent solution to the ever-present challenge of online privacy, ensuring that your digital life remains truly your own, shielded by an always-on guardian at the very heart of your network.